Lucie ​Makes, Bakes, Creates.
  • Home
  • Shop
    • Digital Art Gallery
    • Cookie Cutters >
      • View All Cutters
      • Birthday & Celebration Collection
      • Baby Shower Collection
      • Bridal & Wedding Collection
      • Cars & Trucks
      • Champagne Bottles & Beverages
      • Fashion & Accessories
      • Florals
      • Summer & Tropical
      • Autumn & Halloween
      • Hanukkah
      • Tiles, Plaques, & Shapes
      • Christmas Season
      • Hearts, Love & Valentines
      • Spring, Easter, & St. Paddy's
      • Animals & Insects
      • SUGAR BOX Exclusives
      • STL Cutters
    • Embossed Parchment Paper
    • Decorating Supplies
    • Workbooks & Graphics
    • MiniCake Stands >
      • MiniCake Stands
      • Prototypes & Discounts
      • STL Cake Stand Files
    • STL LIBRARY >
      • STL Cutters
      • STL Cake Stands
      • STL Cookie Display Stands
      • STL Files for Molds & Boo-Boo Sticks
    • My Recipes
    • Amazon Recommendations
    • Other Amazing Online Shops!
  • Cookie Classes
    • Workbooks & Graphics
    • Free Tutorials
    • Easter & Springtime Classes & Guides
    • Summertime Classes & Guides
    • Autumn & Halloween Classes & Guides
    • Winter & Christmas Classes & Guides
    • Champagne & Liquor
    • Fashion Classes & Guides
    • Portrait Classes & Guides
    • 3D Printing & Cookie Preservation
  • Custom Cookies
    • Content Creation
  • Blog
Picture
FLAMINGO SUNGLASSES

What you will need:

Picture
  • Flamingo Sunglasses Cutter Set
  • ​Your favourite cookie dough recipe (I used this one!)
  • Outline-consistency royal icing
  • Flood-consistency royal icing
  • Sprinkles, edible glitters, etc!
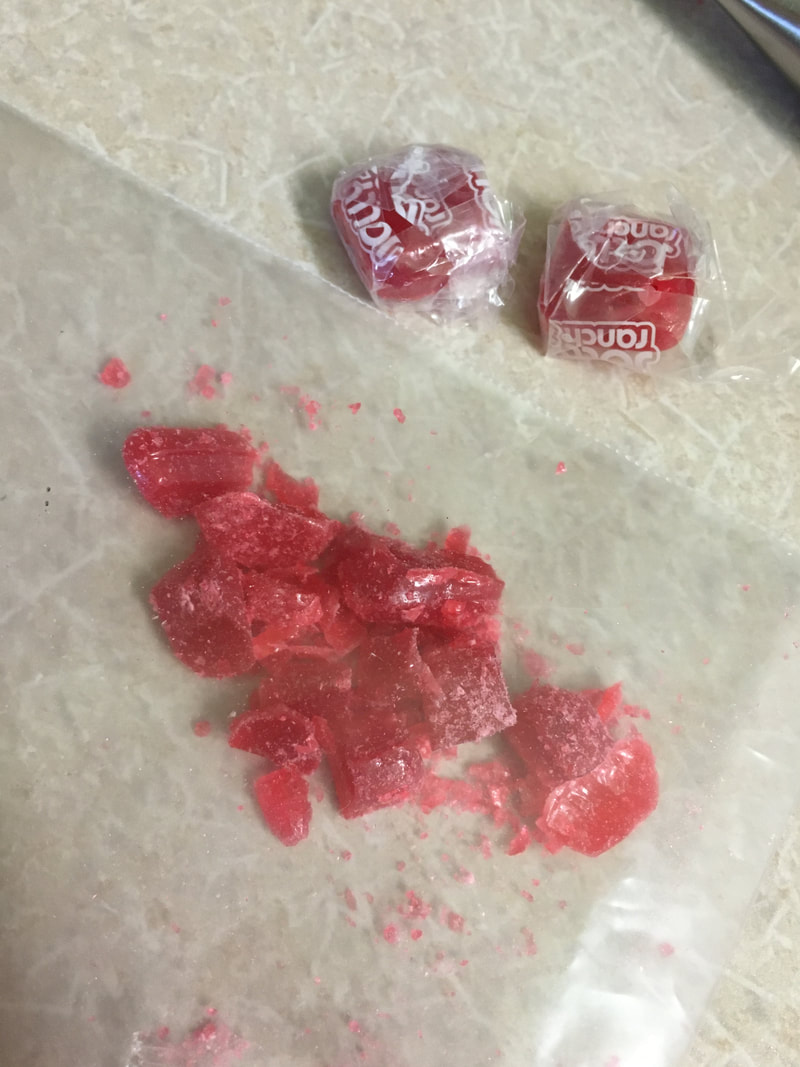
  • Jolly Ranchers (or a similar brand of hard candies)
Picture
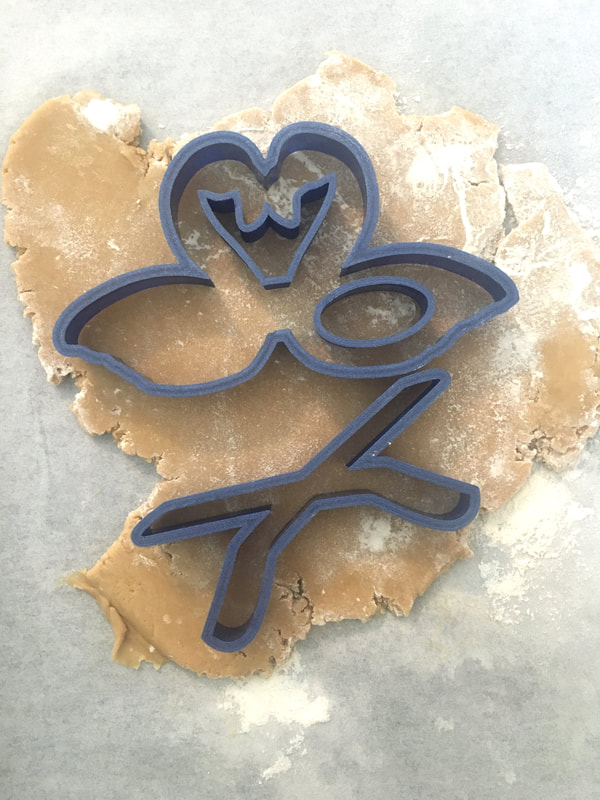
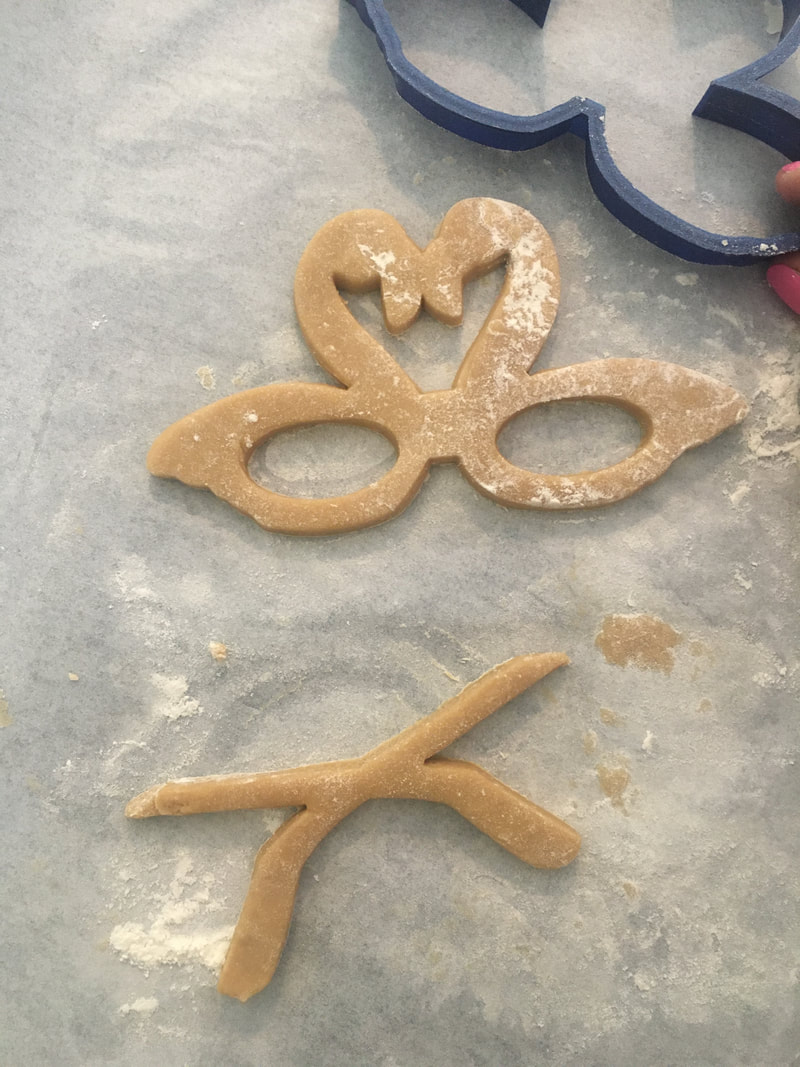
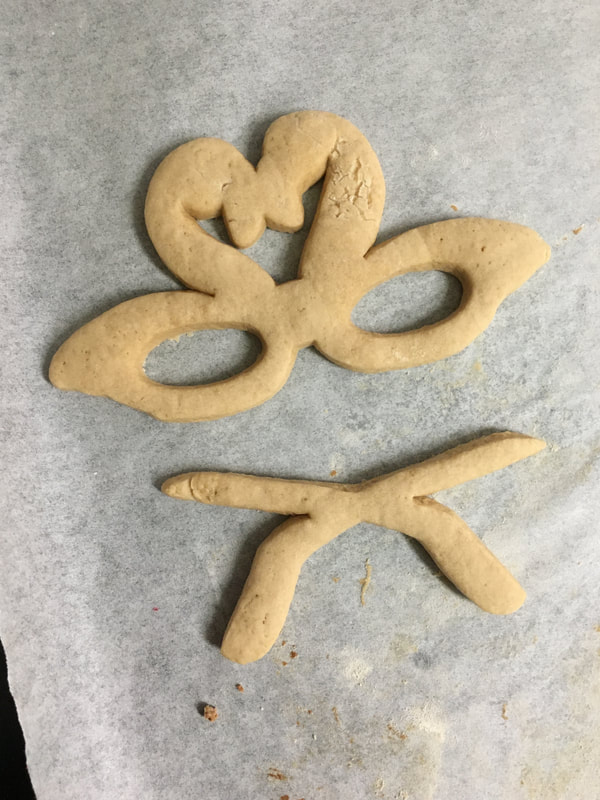
1. Roll your cookie dough and place your cutters! First, cut out the ear hooks cookie and transfer to your baking sheet.

Picture
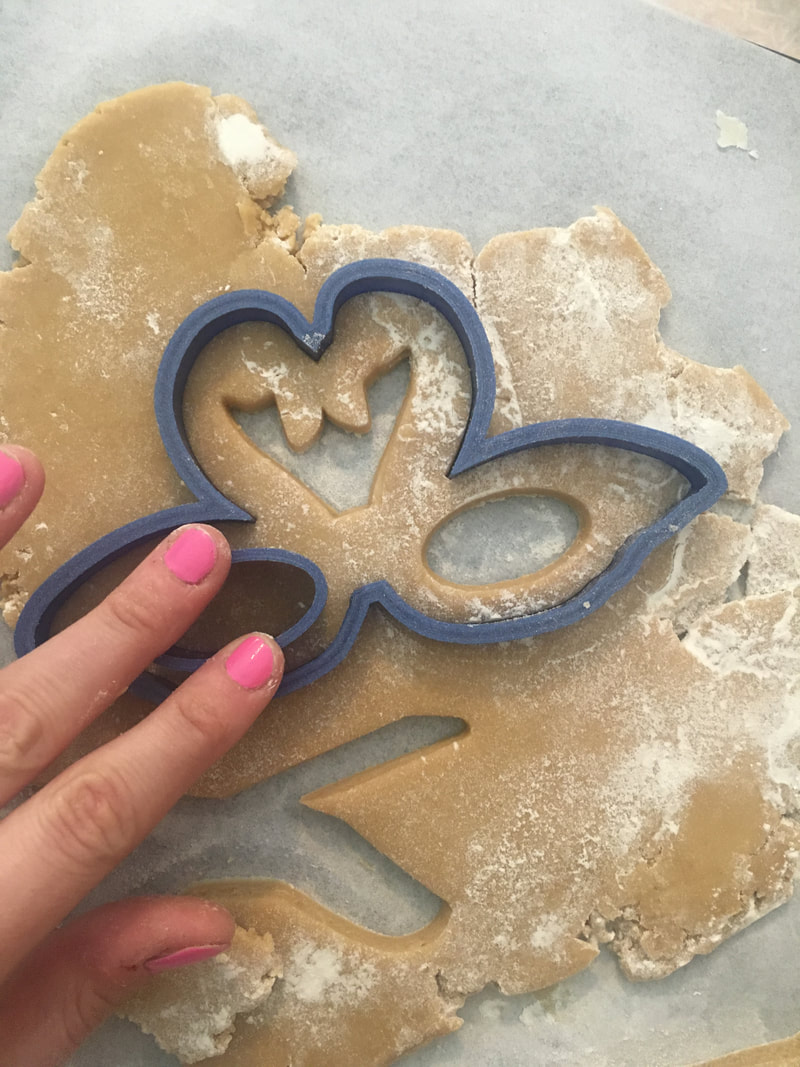
2. Next, cut the shape of the glasses, but don't lift the cookie up just yet. Leave the cutter as is. 

Picture
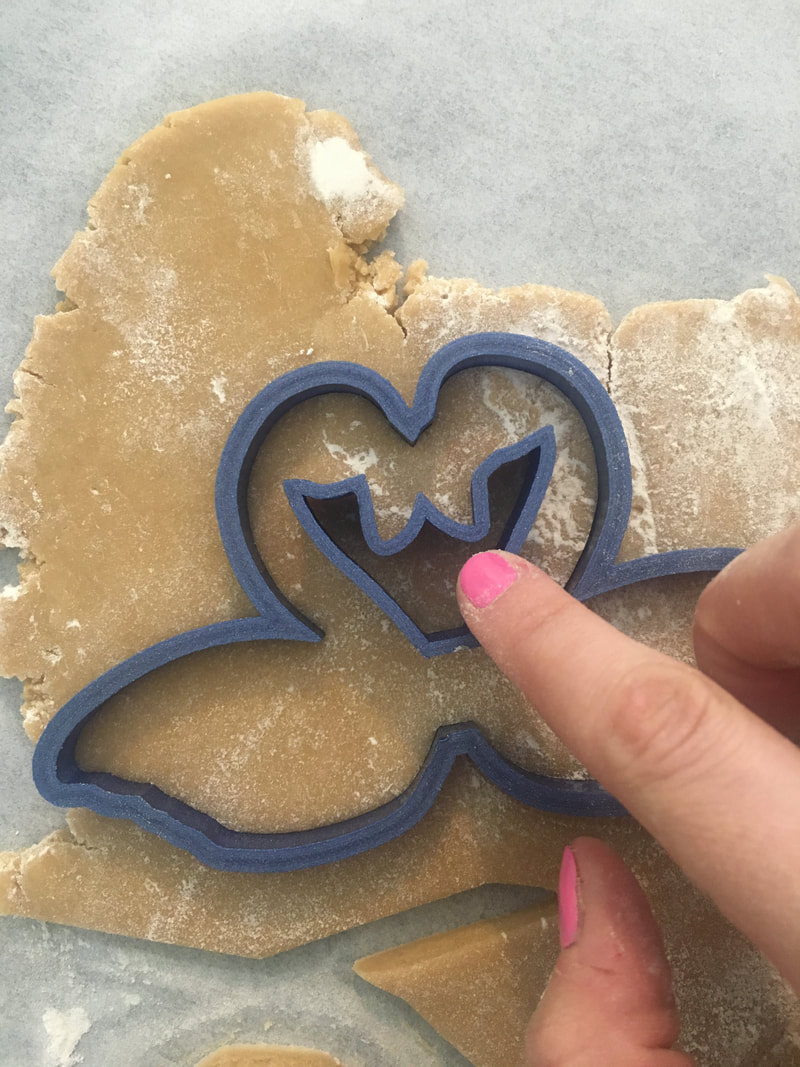
3. Press the "negative space" neck & beak cutter into the dough. You can either remove this area completely,  or apply it as a stamp for piping guidelines. 

Picture
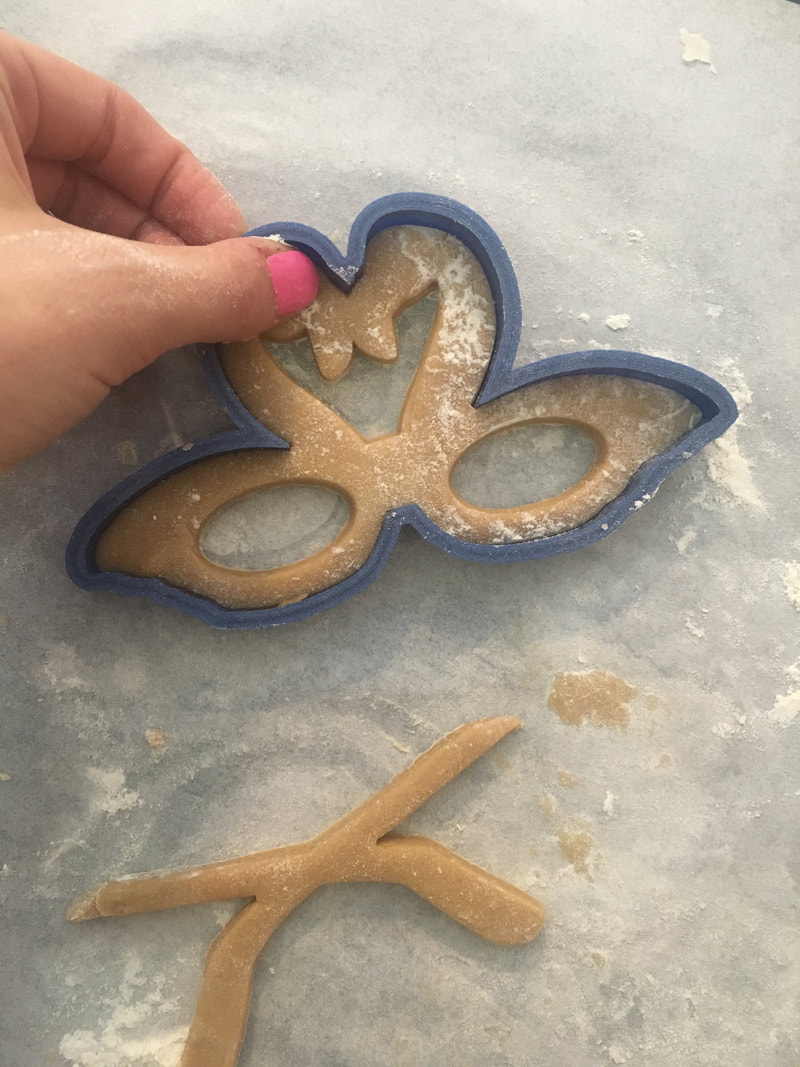
4. If you choose to remove the negative space, gently wiggle the cutter and pull it straight up to remove the small section.

Picture
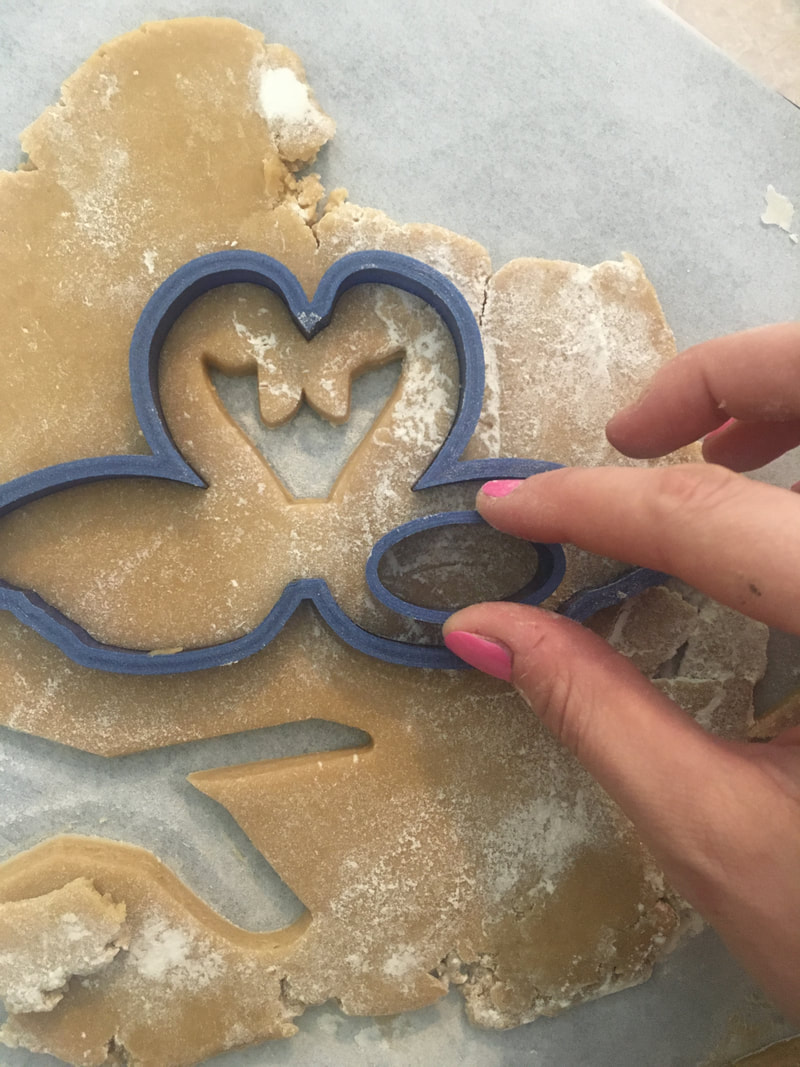
5. Follow the same procedure for the eye areas. You can also apply it as stamp if you wish to decorate the lenses with royal icing.

Picture
6. Don't forget the second eye!

Picture
7. I like to pull the excess dough away from the outside of the cutter; then carefully lift the entire cutter & cookie and transfer to my cookie sheet. Place on cookie sheet, and use your finger to gently pop the cookie out of the cutter. 

Picture
8. Bake your cookies, but bake them for only about half the time required. 

Picture
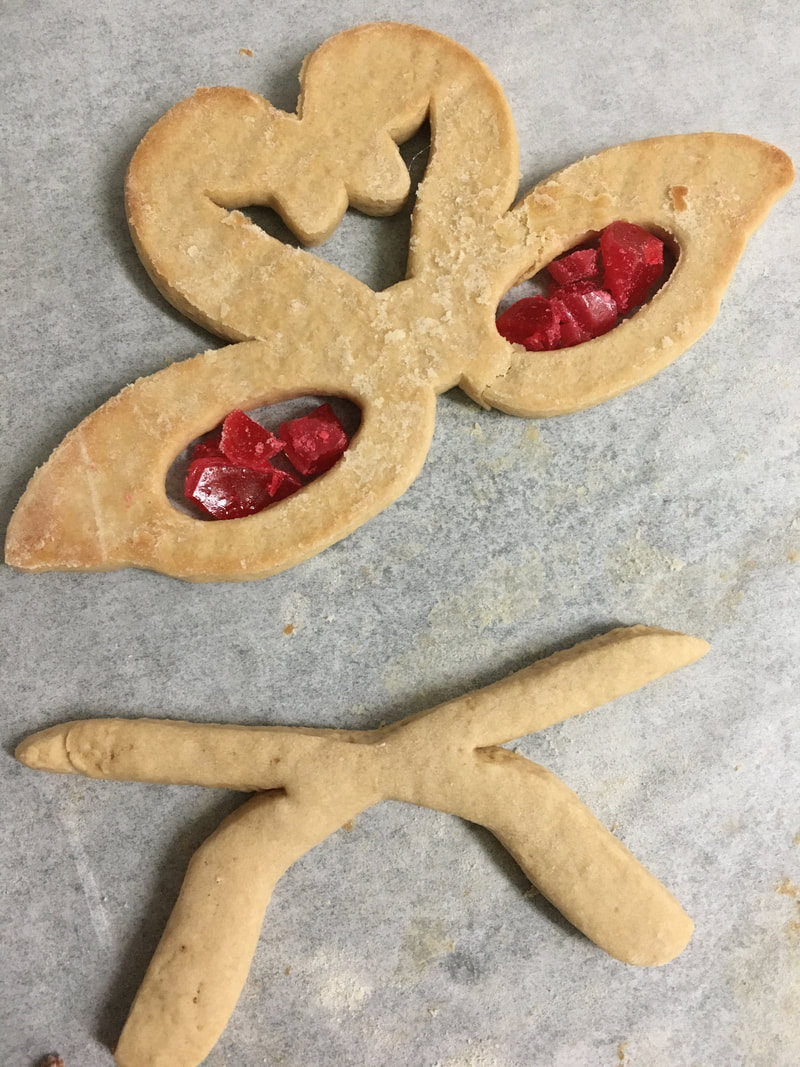
9. While your cookies are baking, place your hard candies in a plastic bag, and crush them by hitting them with a hammer, blunt end of a knife, or marble rolling pin. 

Picture
10. Remove your cookies from the oven when they are about half  baked. Allow them to cool for a minute and use a wide, flat spatula to gently lift and flip the glasses over. 

Picture
11. If you break your cookie while flipping it over, don't panic. Line the pieces back up so they can continue to bake together. Drop the crushed hard candies in the eye holes. And place back into the oven for the remainder of the baking period.

Picture
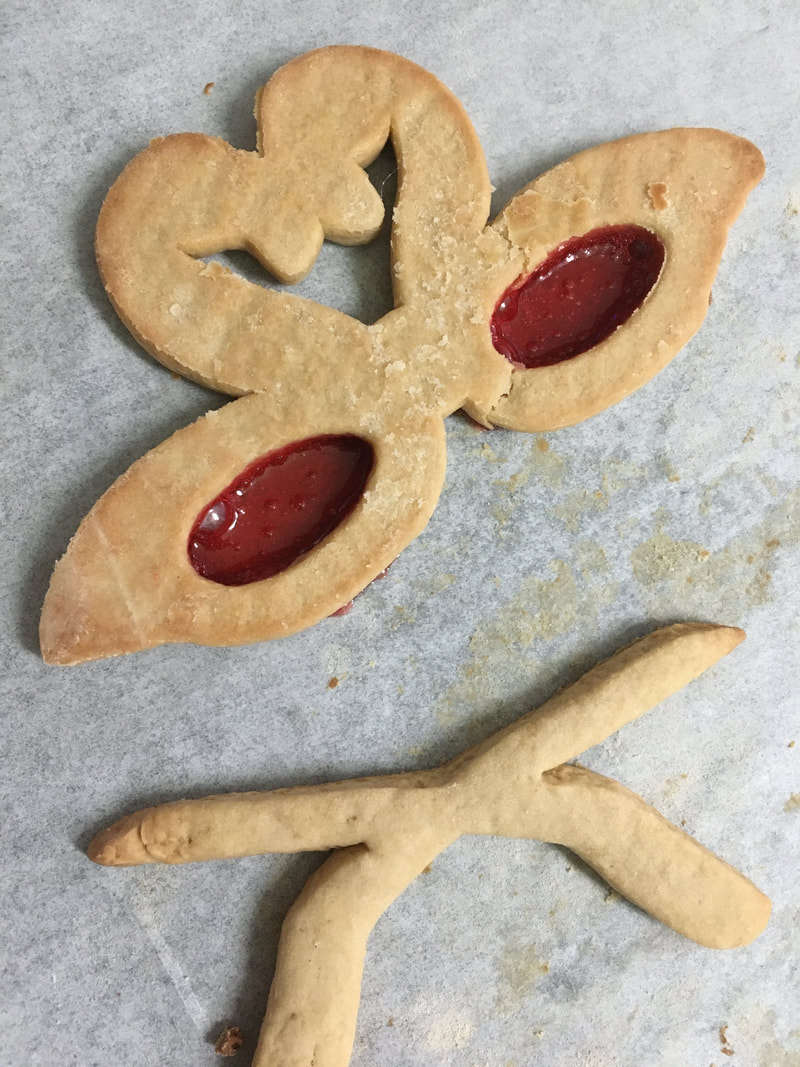
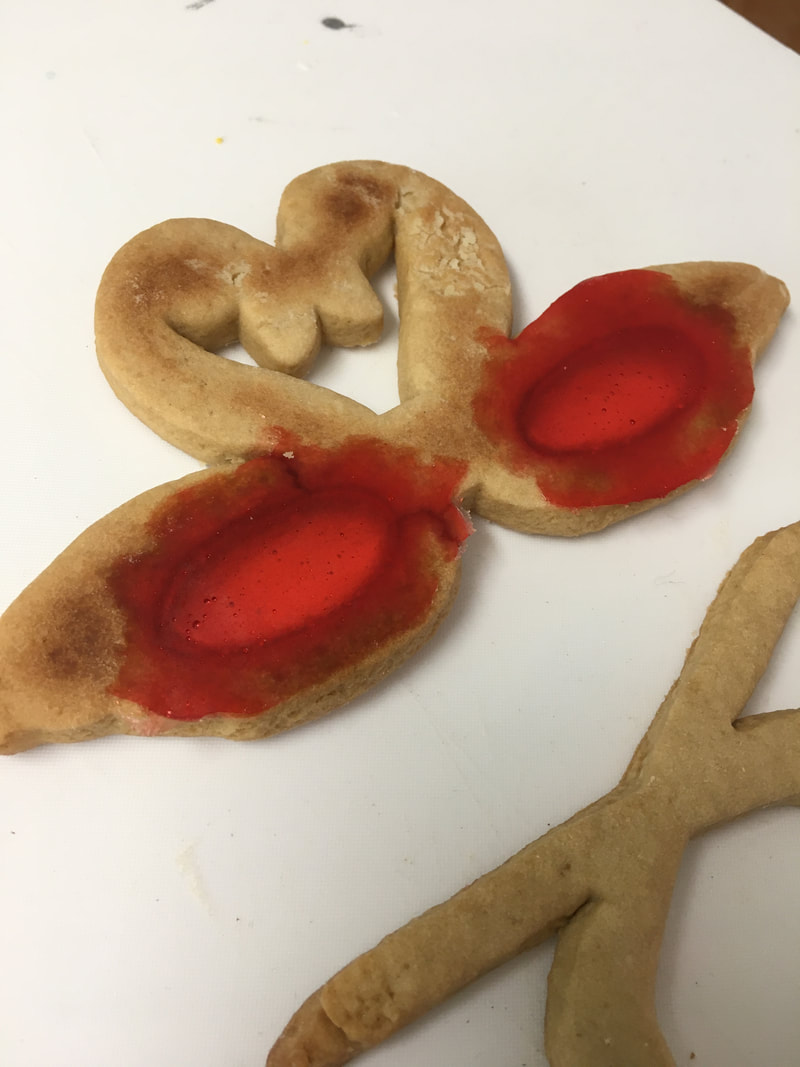
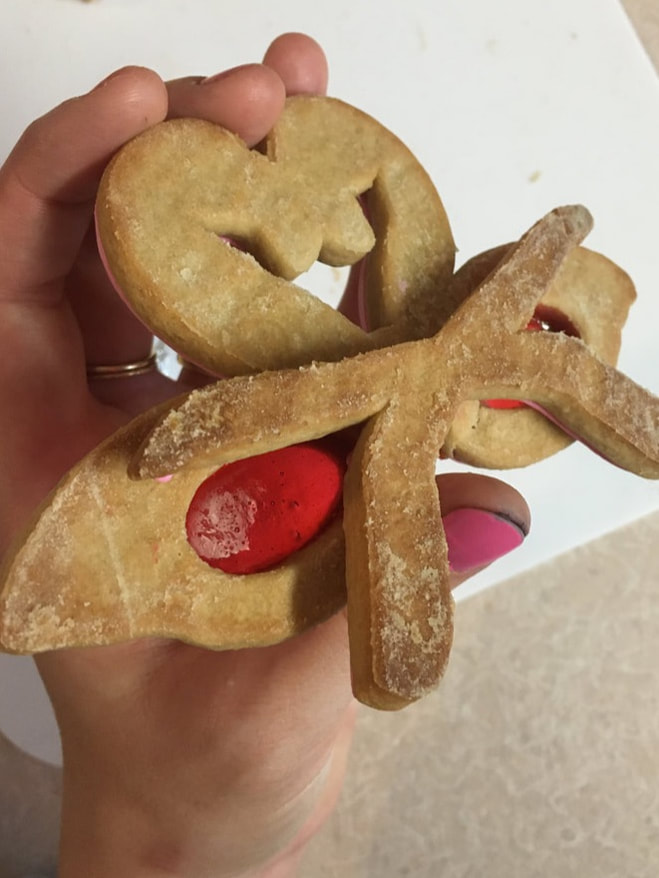
12. The jolly ranchers will melt completely. When you remove the cookies from the oven, allow them to cool completely before removing from the pan. You want the hard candy to fully solidify.

Picture
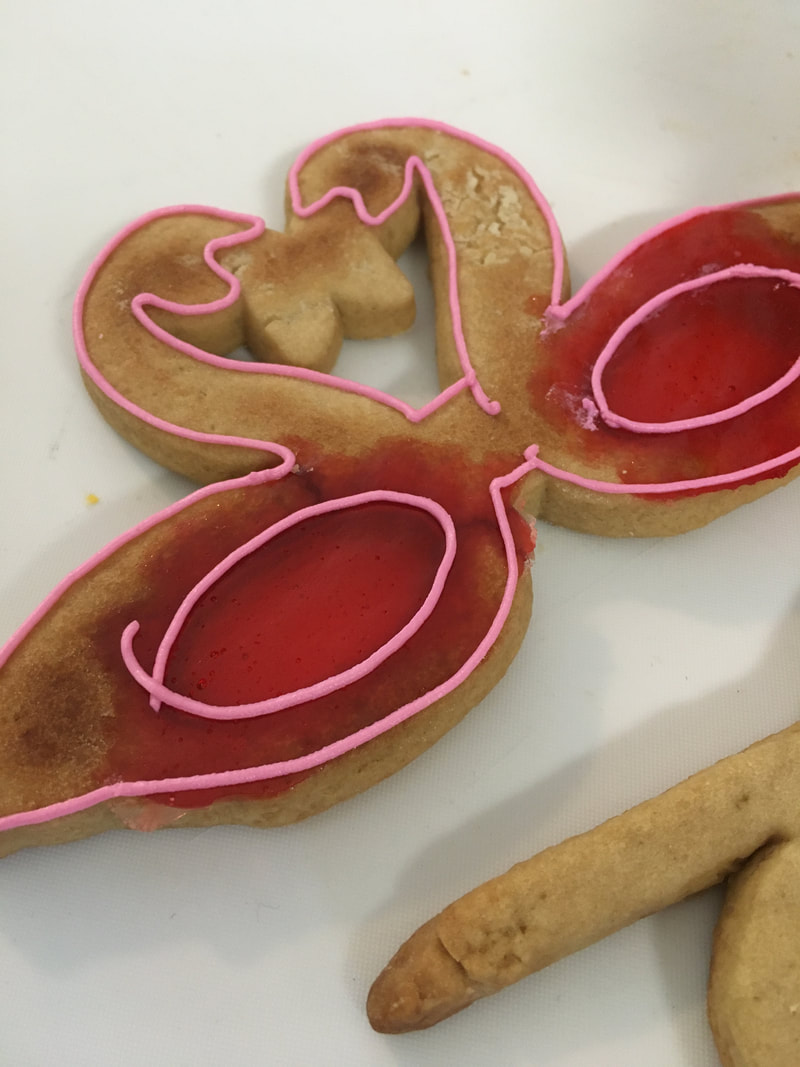
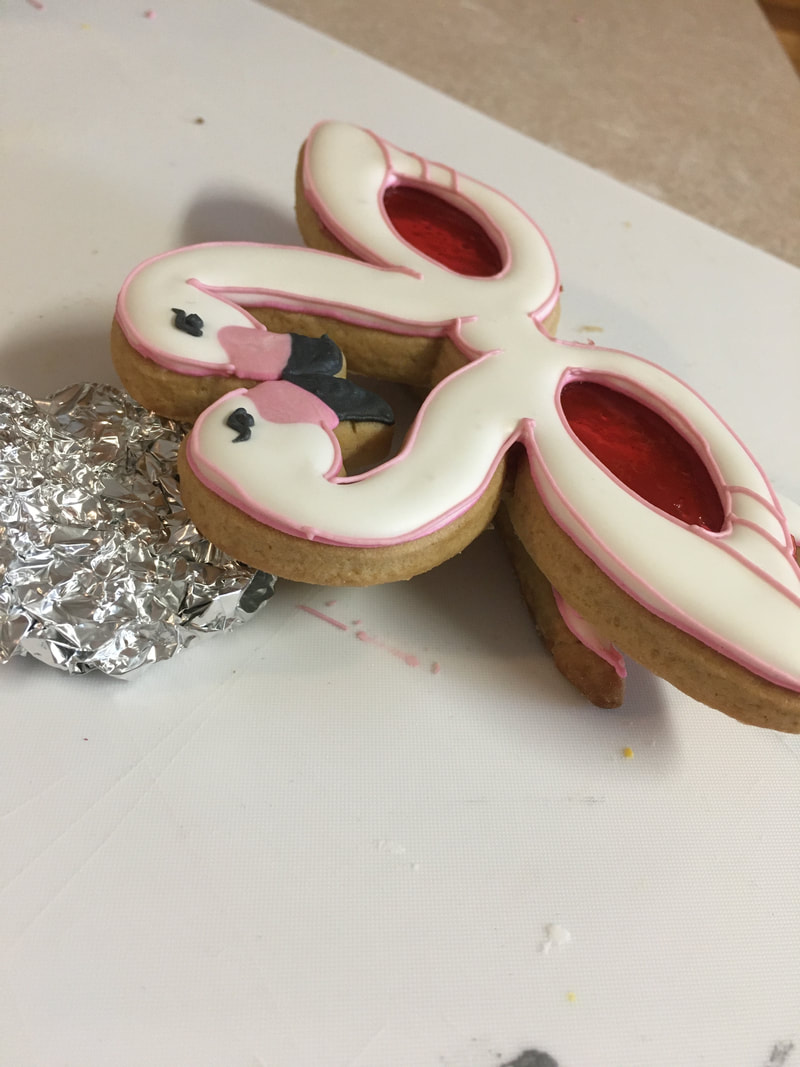
13. When the "lenses" are cool and hard, flip the cookie back over. 

Picture
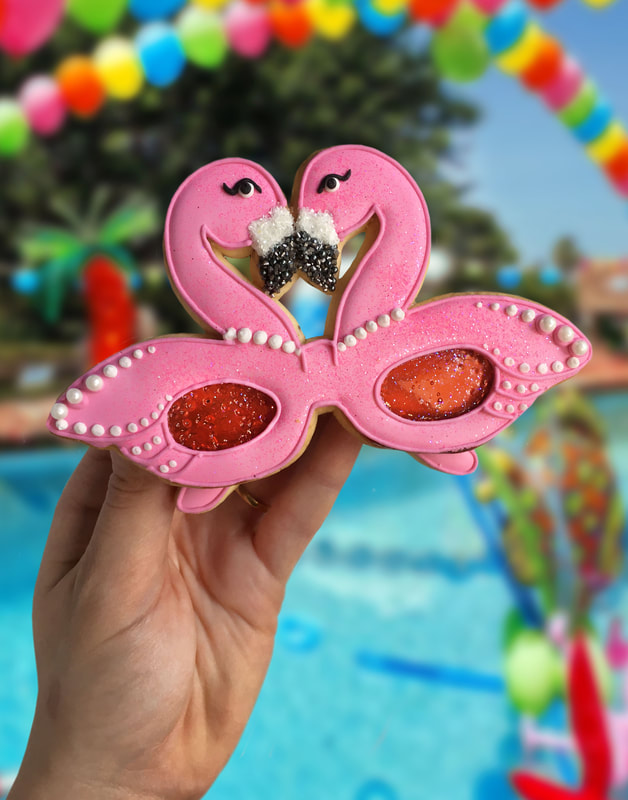
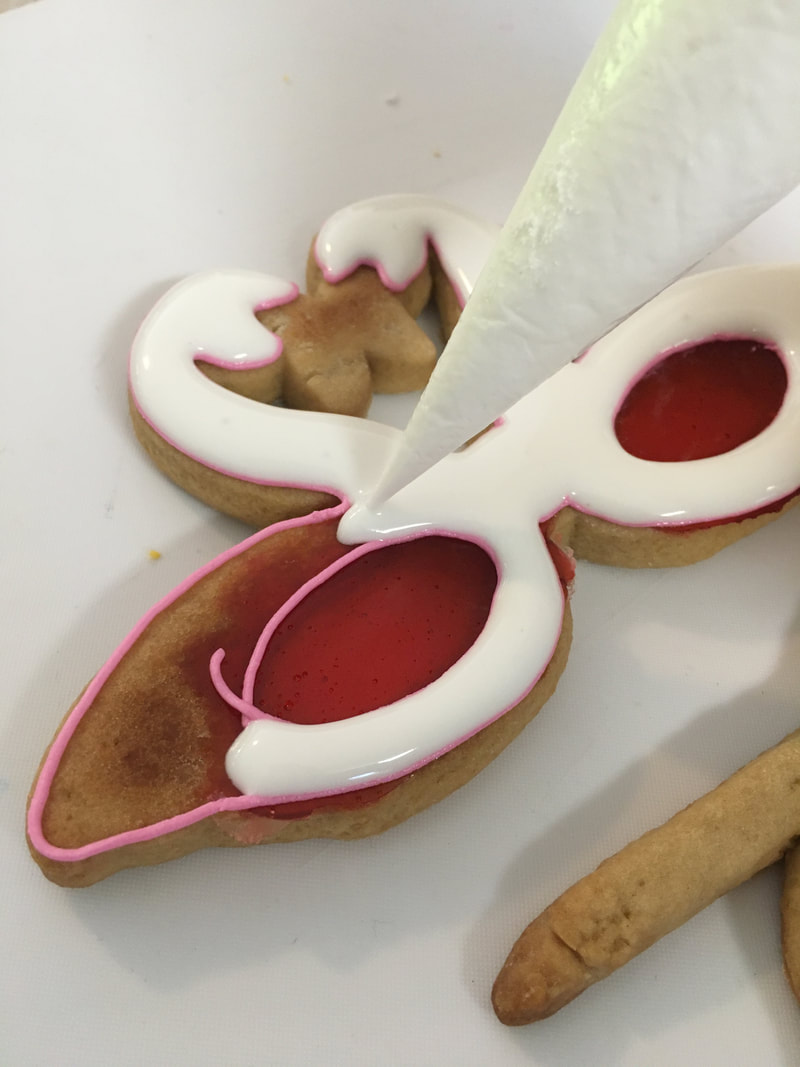
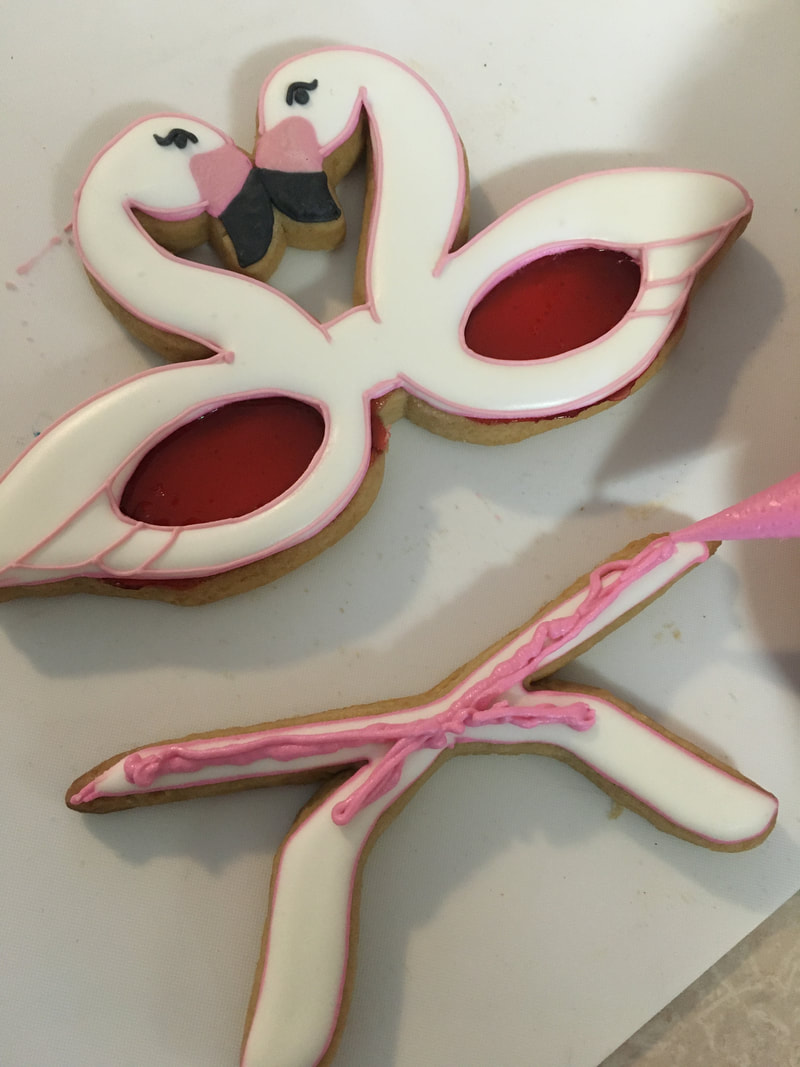
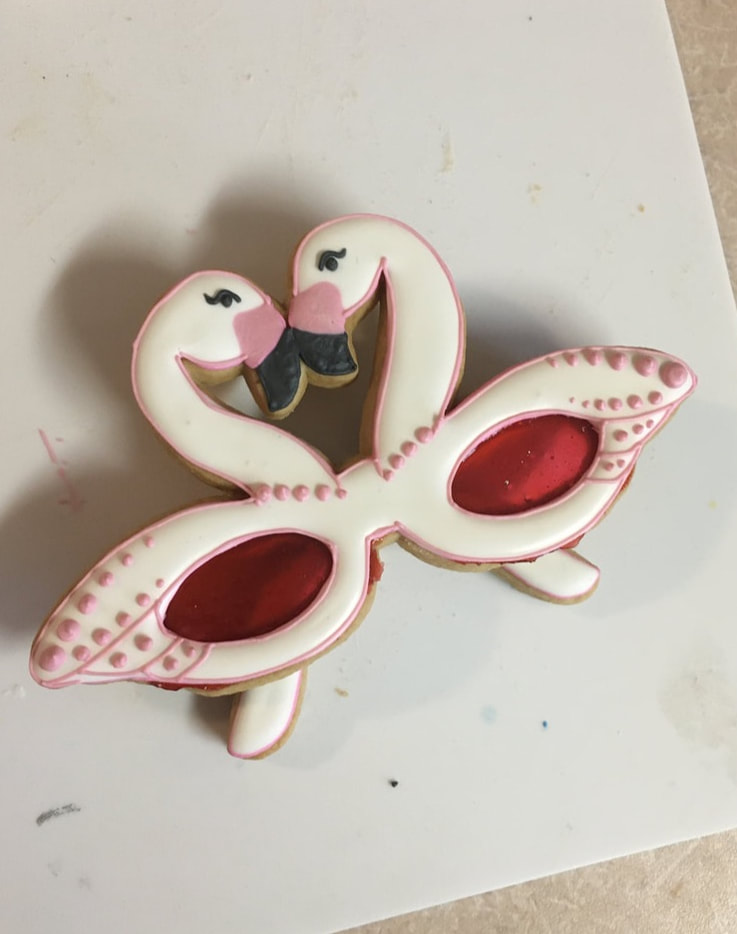
14. And now it's time to decorate! Outline the entire area of the flamingo body - but don't flood over the lenses!

Picture
15. Who says flamingos have to be pink?? I decided to flood these ones with white - how cute would that be for a bachelorette party?!

Picture
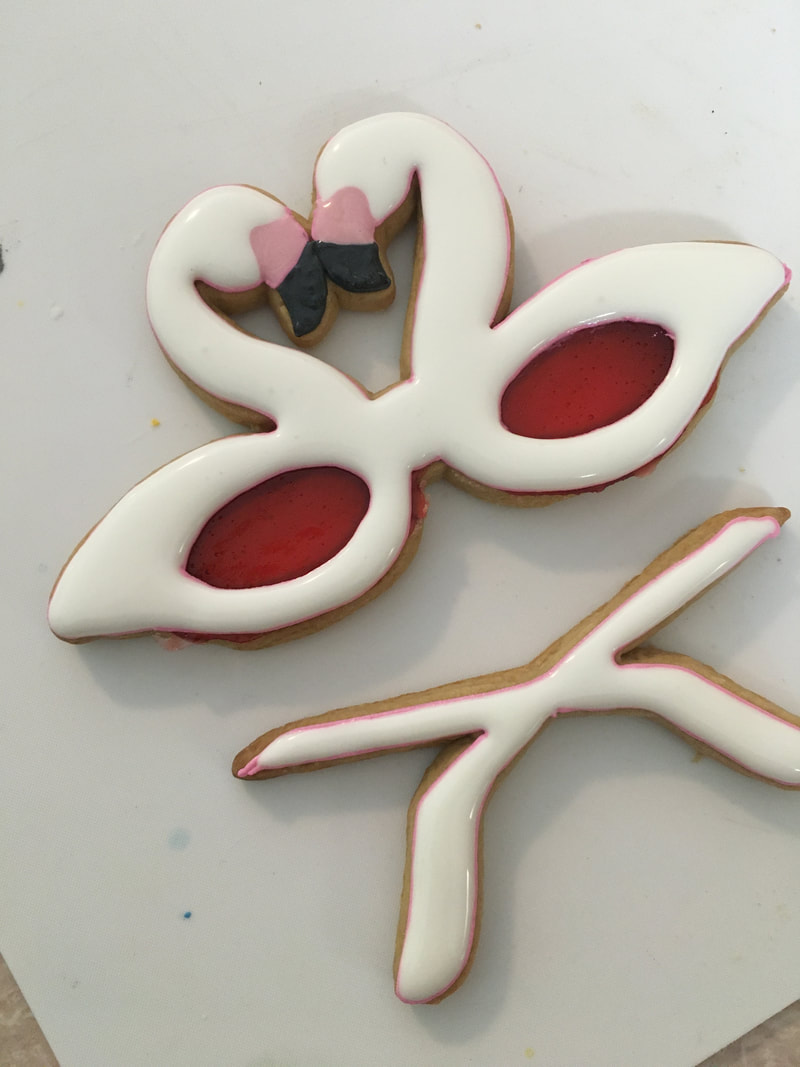
16. Next, flood the beak with your preferred colours. Allow to dry completely. 

Picture
17. Flood the ear hooks as well and allow to dry fully!

Picture
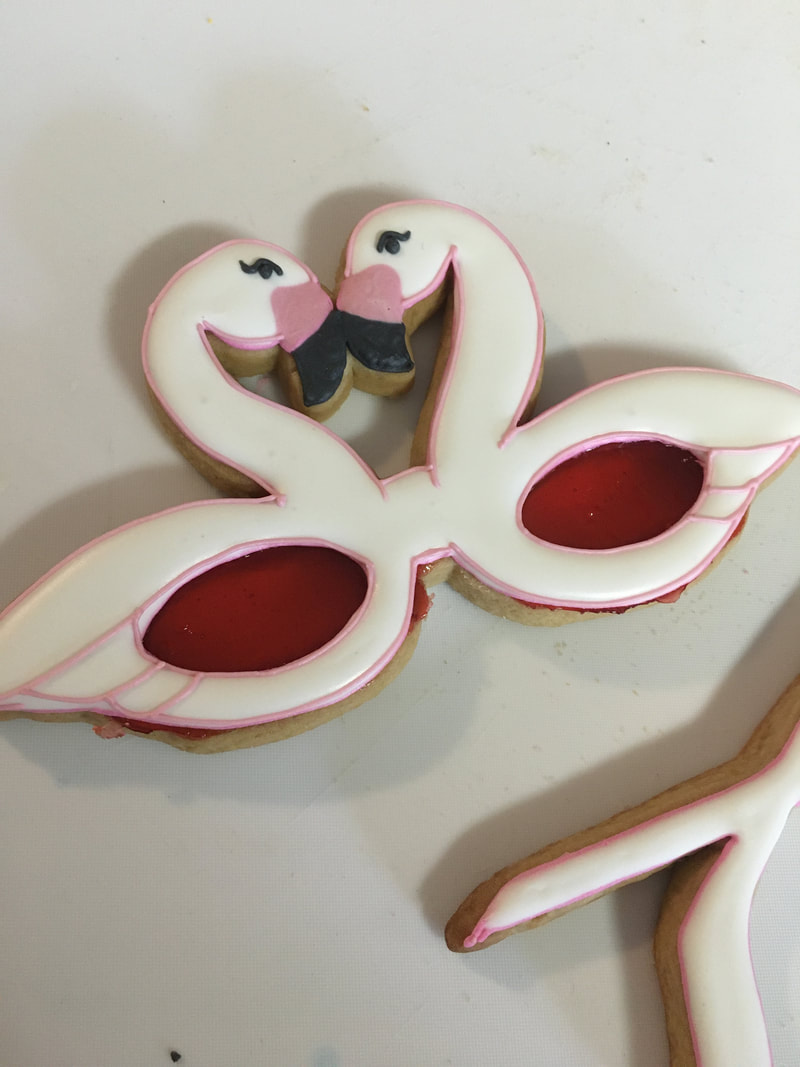
18. When your flood is dry, add the details! Piping, eyes, etc!

Picture
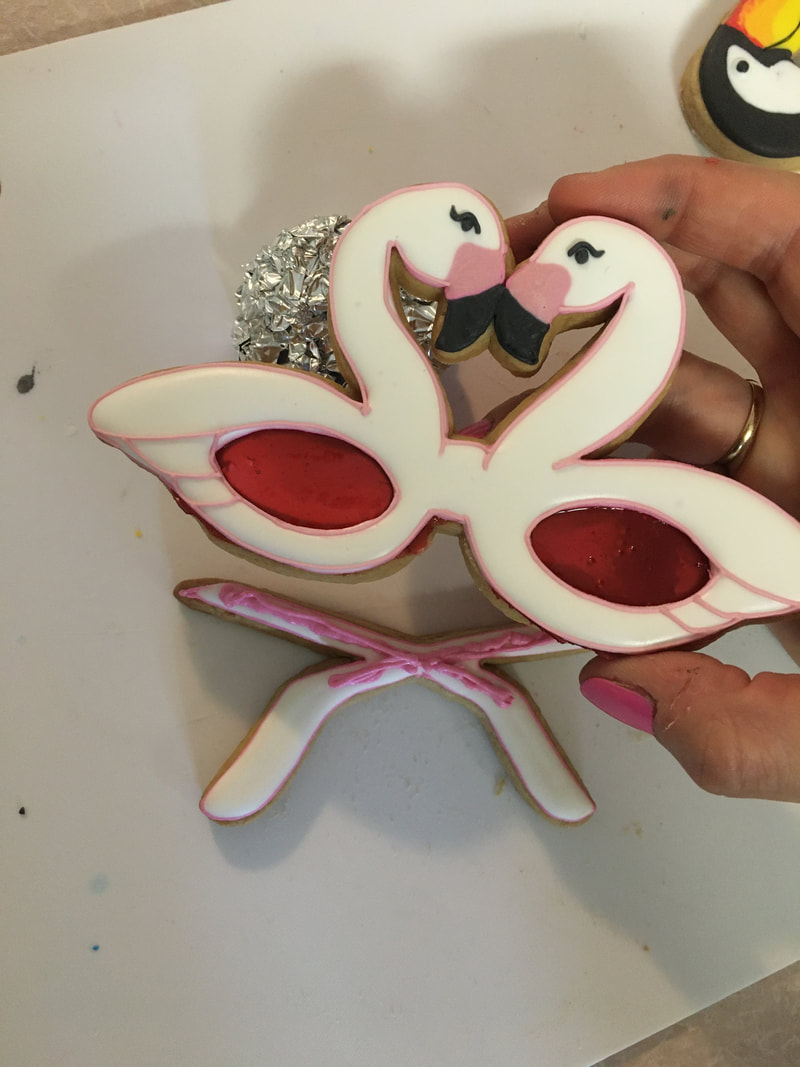
19. To secure the pieces together, pipe icing on upper half of the ear hooks, and place the glasses on top. 

Picture
20. Crumple up a piece of aluminium foil to prop the flamingo heads up while the pieces dry securely together

Picture

Picture

Picture
The rest of the decoration is up to you!

Picture
© 2023 Lucie Radcliffe Design 
  • Home
  • Shop
    • Digital Art Gallery
    • Cookie Cutters >
      • View All Cutters
      • Birthday & Celebration Collection
      • Baby Shower Collection
      • Bridal & Wedding Collection
      • Cars & Trucks
      • Champagne Bottles & Beverages
      • Fashion & Accessories
      • Florals
      • Summer & Tropical
      • Autumn & Halloween
      • Hanukkah
      • Tiles, Plaques, & Shapes
      • Christmas Season
      • Hearts, Love & Valentines
      • Spring, Easter, & St. Paddy's
      • Animals & Insects
      • SUGAR BOX Exclusives
      • STL Cutters
    • Embossed Parchment Paper
    • Decorating Supplies
    • Workbooks & Graphics
    • MiniCake Stands >
      • MiniCake Stands
      • Prototypes & Discounts
      • STL Cake Stand Files
    • STL LIBRARY >
      • STL Cutters
      • STL Cake Stands
      • STL Cookie Display Stands
      • STL Files for Molds & Boo-Boo Sticks
    • My Recipes
    • Amazon Recommendations
    • Other Amazing Online Shops!
  • Cookie Classes
    • Workbooks & Graphics
    • Free Tutorials
    • Easter & Springtime Classes & Guides
    • Summertime Classes & Guides
    • Autumn & Halloween Classes & Guides
    • Winter & Christmas Classes & Guides
    • Champagne & Liquor
    • Fashion Classes & Guides
    • Portrait Classes & Guides
    • 3D Printing & Cookie Preservation
  • Custom Cookies
    • Content Creation
  • Blog