|
That's right! I made my own cheese the other day. But only after I finished making it, did I realize I could have used food colouring to make it a fun Easter pastel colour! Darn! Here's the recipe and instructions:
0 Comments
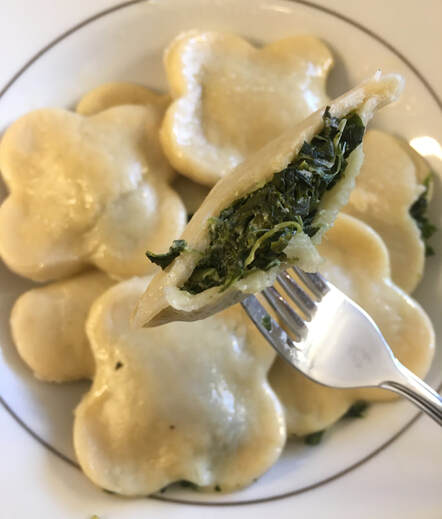
RAVIOLI PASTA:
SPINACH FILLING:
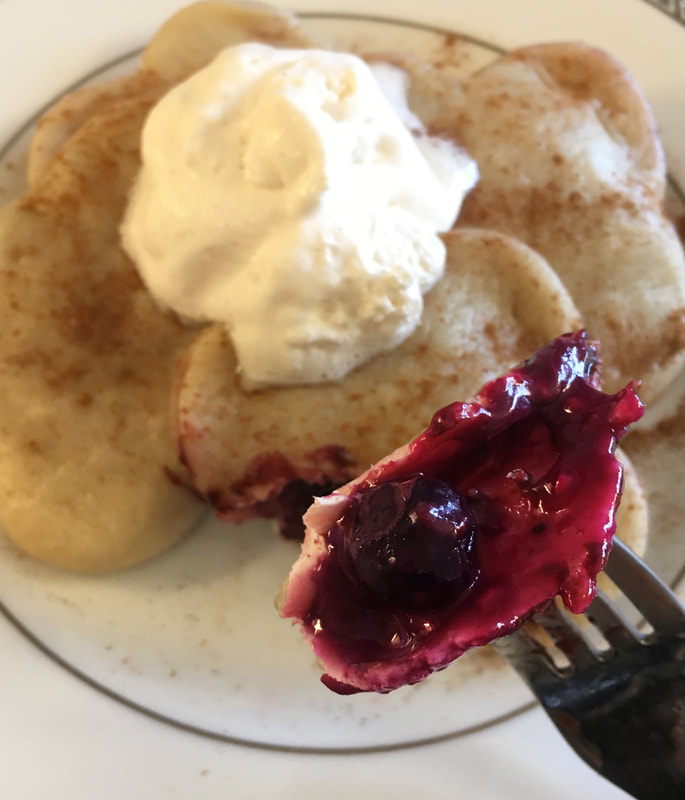
CHOCOLATE & BERRY FILLING
|
|
 RSS Feed